Understanding the Role of Roof Joists
Before diving into installation techniques, it’s essential to understand what a roof joist does. Essentially, roof joists are horizontal structural members that span across walls or beams to support the roof load. They work in tandem with rafters, ceiling joists, and beams to distribute the weight of the roof evenly across the structure. Because of the immense forces involved, poor installation can lead to sagging roofs, structural instability, and even complete failures over time.
Choosing the right size, material, and spacing for your roof joists is the first step toward success. Always consult local building codes to ensure compliance and safety.
Pro Tip 1: Choose Quality Lumber or Engineered Wood
When selecting materials for your roof joist system, quality matters. Defects like knots, warping, or splitting can seriously compromise the structural integrity of your joists. Opt for premium-grade lumber whenever possible, or consider engineered wood products like LVL (Laminated Veneer Lumber), which provide superior strength and dimensional stability.
Engineered options are especially useful for longer spans where traditional lumber might be insufficient. Remember, investing in better materials upfront can save you significant time and money in the future by reducing maintenance and repairs.
Pro Tip 2: Mind Your Measurements
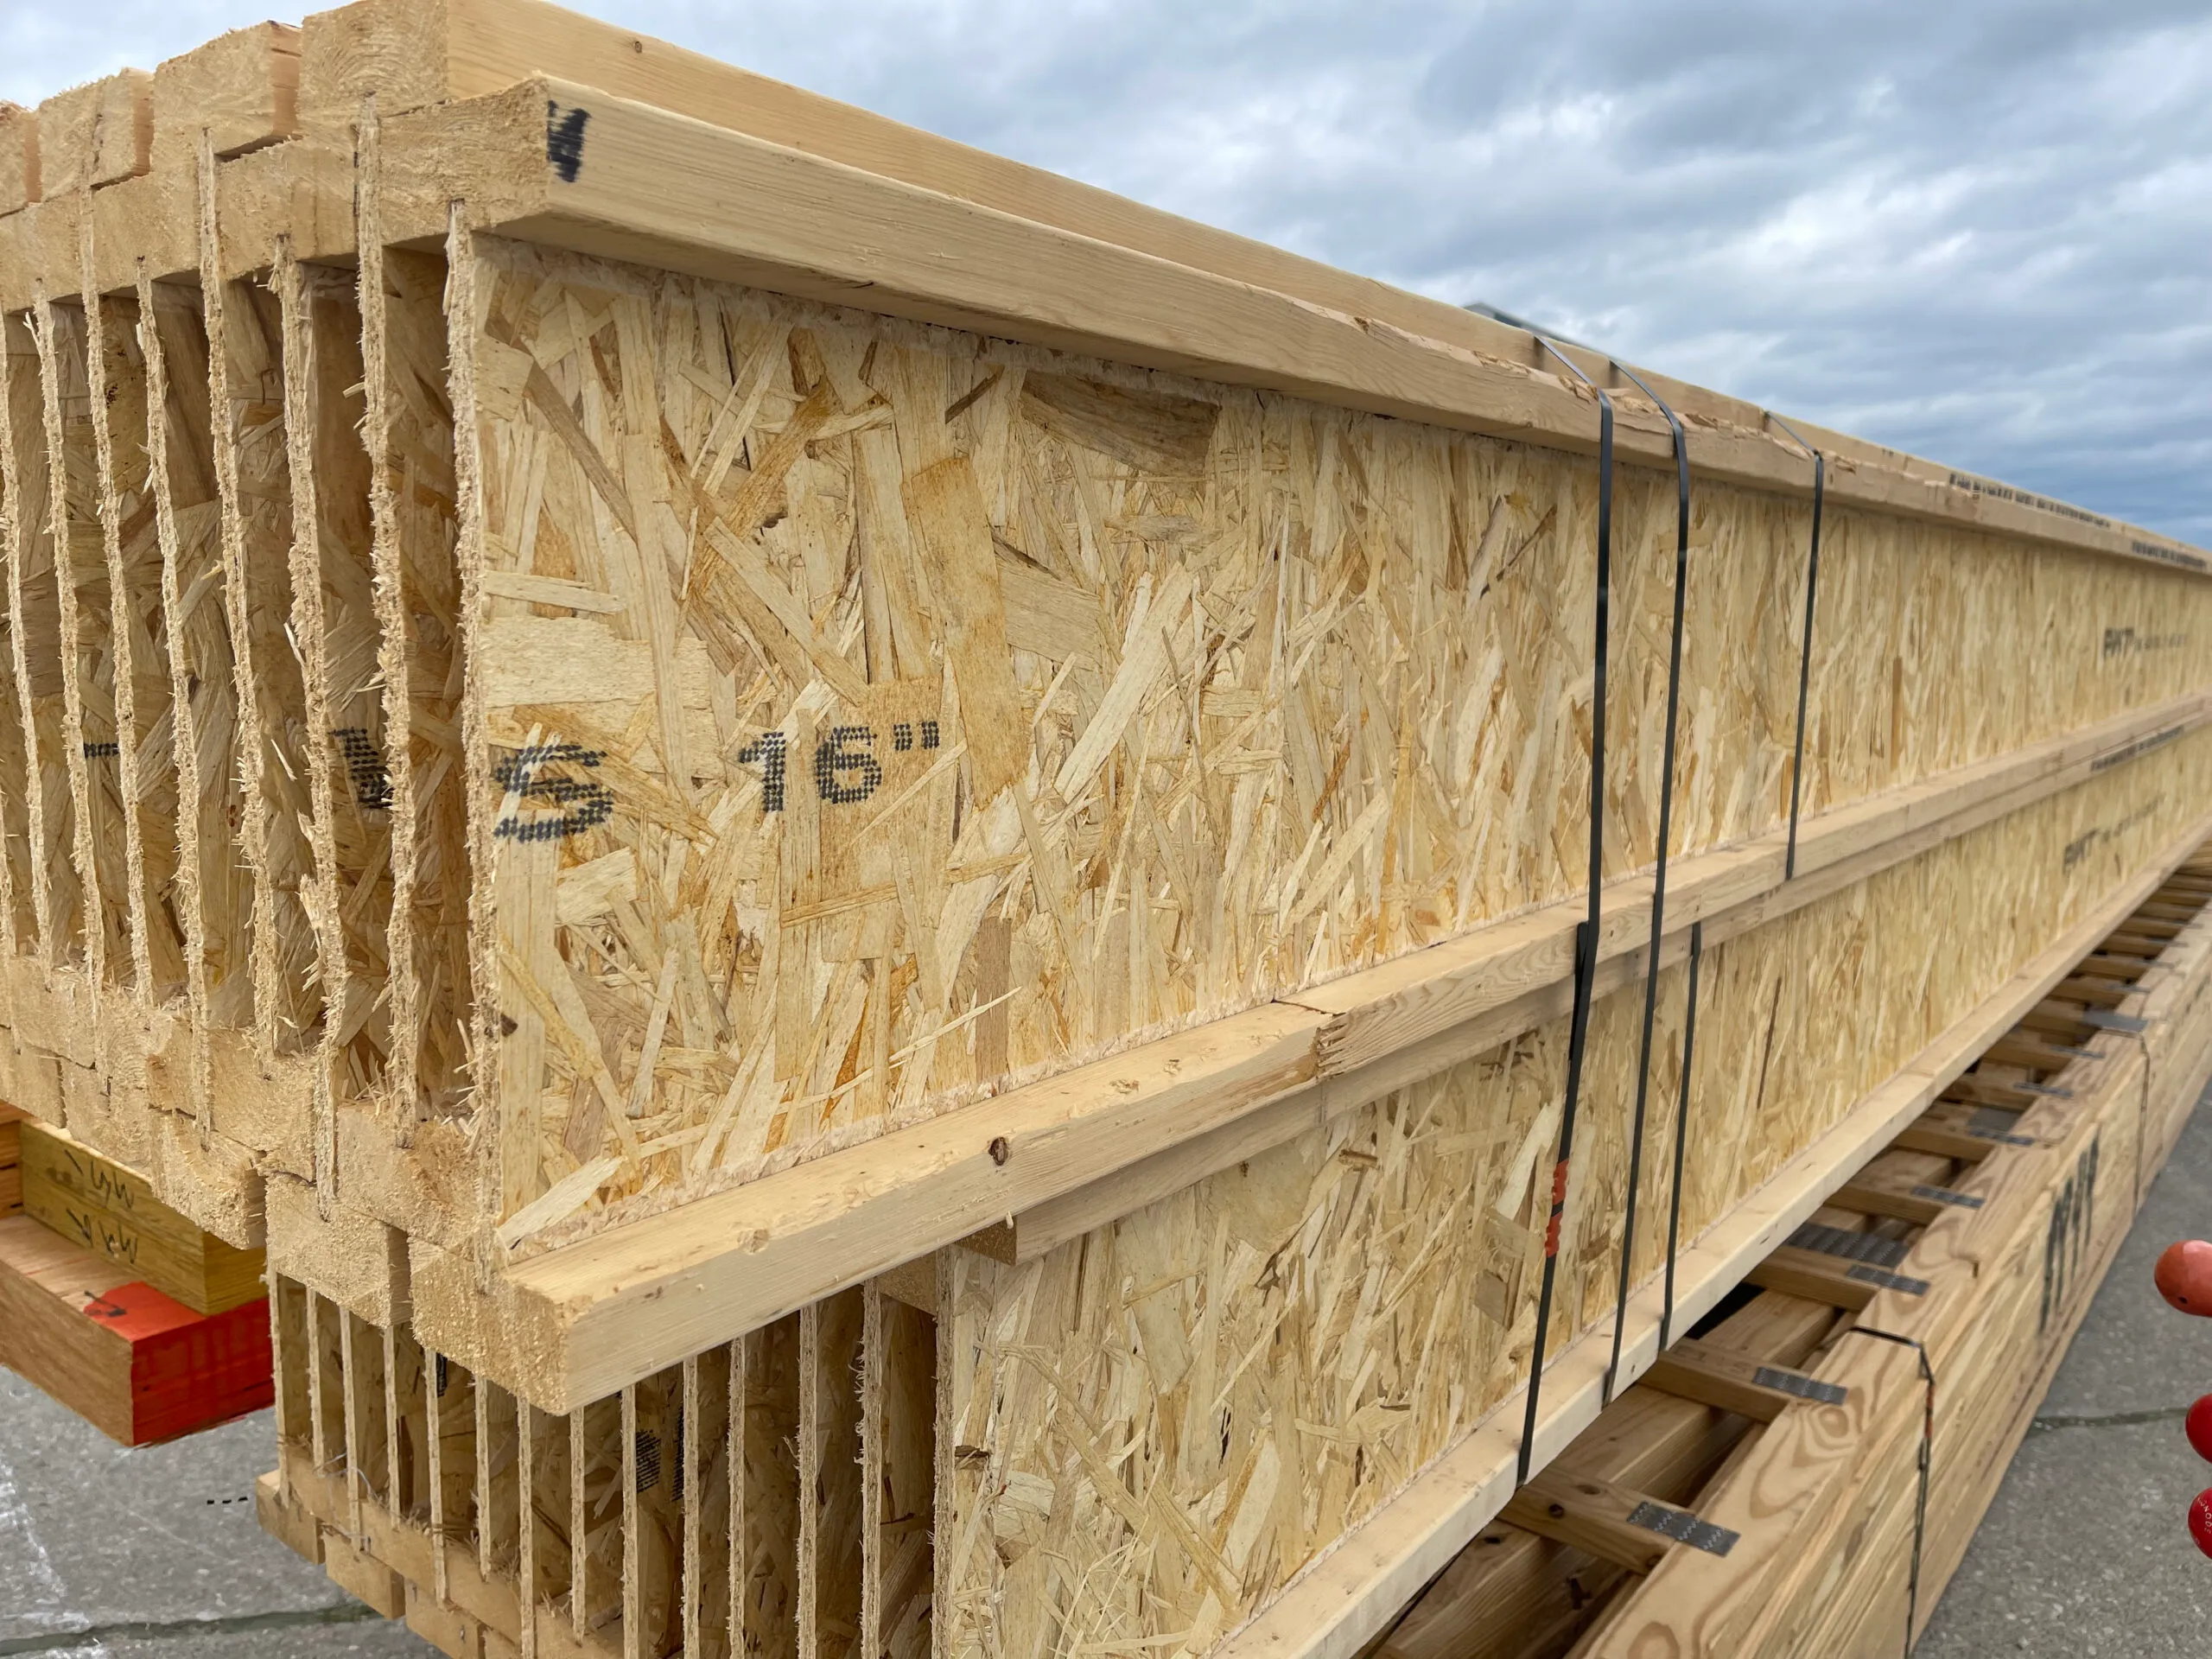
Precision is everything when installing roof joists. Even minor measurement errors can lead to misalignments that cause uneven weight distribution. Always double-check your spans, spacing, and cuts before installing. The typical spacing for a roof joist is either 16 or 24 inches on center, but specific project requirements or heavy roofing materials may necessitate closer spacing.
Using a laser level or string lines during installation can help maintain perfectly straight and level joist lines across the roof structure. Taking the time to measure carefully ensures your roof will be stable, aesthetically pleasing, and code-compliant.
Pro Tip 3: Secure Proper Support
Roof joists must transfer their load to supporting walls or beams effectively. This means ensuring that the walls or beams below are appropriately sized and reinforced to handle the additional weight. Installing a strong rim joist at the edges can help prevent the joists from twisting or spreading out under load.
When connecting joists to beams or walls, use approved metal joist hangers or hurricane ties for added strength and wind resistance. Properly secured connections not only enhance the roof's structural performance but also increase its ability to withstand extreme weather events.
Pro Tip 4: Mind the Weather During Installation
Believe it or not, weather conditions can significantly affect your roof joist installation. Wood is a hygroscopic material, meaning it absorbs and releases moisture depending on the surrounding environment. Installing joists during periods of high humidity or rain can lead to swelling, warping, or future shrinkage once the wood dries.
Whenever possible, schedule roof joist installations during dry, moderate weather. If you must install during damp conditions, ensure the wood is covered and protected as much as possible, and allow for slight adjustments once the wood acclimates.
Pro Tip 5: Use Bracing and Blocking
Even the strongest roof joist can benefit from additional bracing and blocking. Bracing helps maintain proper spacing and alignment during and after installation, while blocking between joists prevents twisting and increases overall stiffness.
Installing diagonal bracing across joists can help distribute loads more evenly, particularly on longer spans. Meanwhile, mid-span blocking is a simple and effective way to ensure that your joists stay straight and true for years to come.
Pro Tip 6: Don't Overlook Ventilation
Proper ventilation is a crucial yet often overlooked aspect of roof construction. Without adequate airflow, heat and moisture can accumulate under the roof, leading to issues like mold, rot, and premature material degradation.
When installing roof joists, be sure to leave space for soffit vents, ridge vents, or other ventilation features. In some designs, vent chutes or baffles are installed between joists to facilitate proper airflow. Planning for ventilation during the joist installation phase is much easier than retrofitting it later.
Installing roof joists is a critical phase in any roofing project, and doing it right the first time ensures a strong, durable, and safe roof structure. From selecting quality materials to taking precise measurements, securing proper support, and planning for ventilation, every detail matters.
By applying these pro tips and giving each roof joist the attention it deserves, you’ll create a roof that not only looks great but performs exceptionally for decades to come. Whether you're building new or upgrading an existing structure, investing time and care into your roof joist installation will always pay off in the long run.